Want to stream yourself walking around Gen Con? Want to stream from your convention booth? Don’t care about board games but want to learn how to produce a high-quality IRL stream? Welcome to a lil blog where I’m going to show you how :)
Disclaimer: My approach to IRL streaming will get you consistent 1080p output and a very smooth viewing experience, but it is extremely expensive. The equipment I used was purchased by CGE, not myself. There are cheaper ways to build a set-up, but this guide will just be walking you through what I did.
Research
For starters, IRL streaming is in no way a new thing. It has an extremely dedicated and knowledgeable community that has existed on Twitch and other streaming platforms for years. So the first thing I did was immerse myself in the IRL community’s forums, discords, and tutorials. I even had the pleasure of sitting in on TheSushiDragon’s IRL tips & tricks panel at TwitchCon 2022— if you want to be inspired to push IRL technology to its limits, look no further than SushiDragon’s channel.
Some useful resources from the IRL community:
The IRL Hub Discord. Good for asking real-time questions and getting feedback.
Tech Condo!!!!! I cannot overstate how amazing and helpful this channel is.
Video Guys. They’re a distributer for a lot of the tech discussed in this article, and they often have guides on how to use it on their youtube channel.
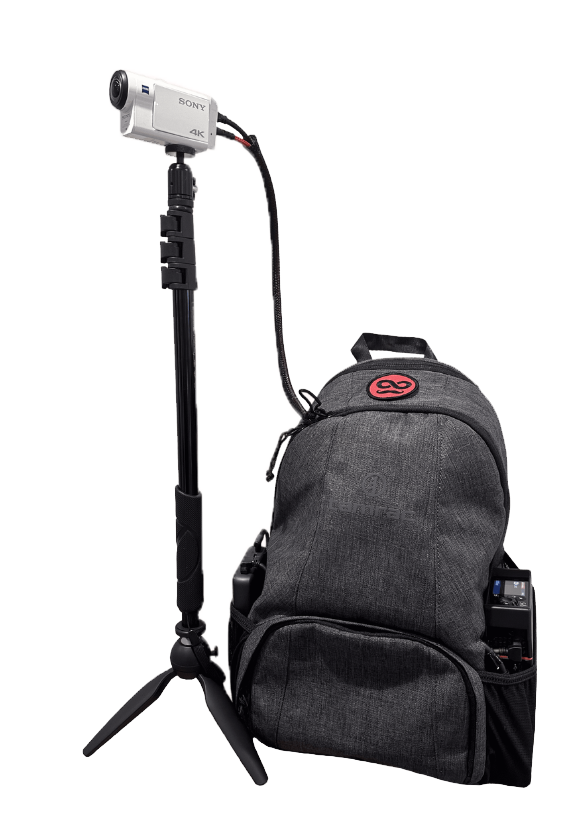
When looking for entry-level IRL setups, one thing will pop up a lot: IRL backpacks. These are used frequently by IRL streamers, and are also popular for renting for people who just want to stream a one-off event.
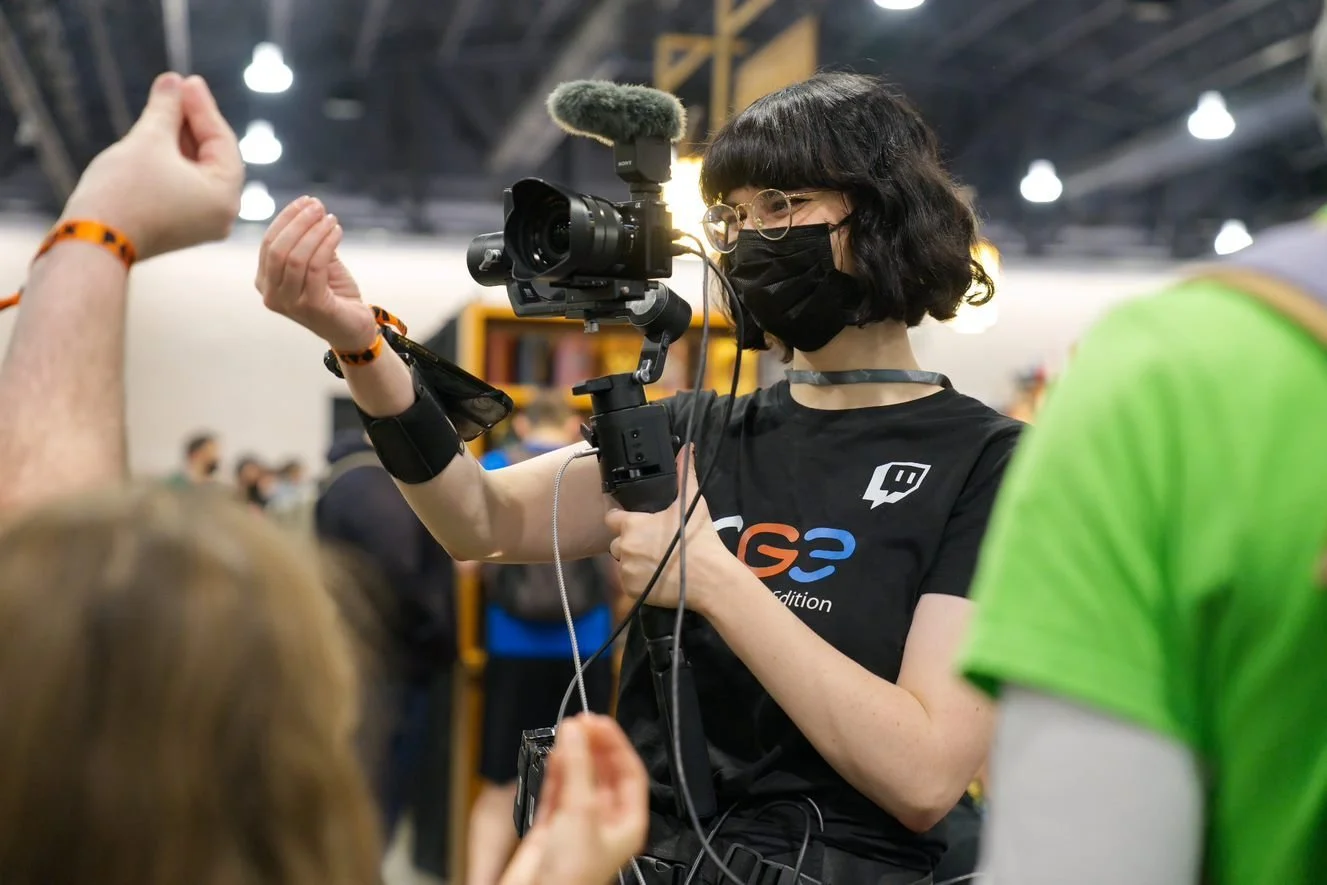
My problem with these setups is the camera. It’s often mounted on the backpack’s shoulder strap. This frees up both of your hands but makes the camera motion shakey in exchange. And my goal was quality over comfort— who needs arms am I right???
You can try one of these backpacks out if the camera stability doesn’t bother you as much as it does me (and if you like your arms). But once I started looking at other options, I realized I could deconstruct what comes in these backpacks pretty easily. So that’s what this guide is going to show you how to do!
Internet
No! The hotspot on your phone isn’t enough! >:(
And if you’re at a US convention, chances are the exhibitor wifi isn’t enough either.

If you walk away from this article with anything, please let it be to not skimp on your internet solution. After all, this is a live stream. People turn to these to get a real-time convention experience… but if that experience is just 50 pixels then people won’t stick around.
My internet solution, and the holy grail of my setup, is the LiveU Solo.
The LiveU is a live video encoder that bonds together multiple internet sources into one very strong signal. With the solo model, you can connect two data connections, a wifi source and an ethernet source together. The LiveU will then automatically switch between these depending on which is the strongest where you are. This means that you can stream 1080p from just about anywhere*
The LiveU Solo unit itself will run you $795 USD.
I then recommend buying the Solo Connect 2-modem bundle to save yourself the headache of tracking down your own compatible modems and data plans. The modems will be $450.
Lastly, you need to activate everything, either one month at a time (what I recommend if you’re just streaming conventions) or for a whole year. At a minimum, you’ll need to buy a subscription to LiveU’s LRT service— this is what allows that data bonding to happen, without this, the device does nothing. And if you purchased the LiveU modems, you’ll need to also get a subscription to Solo Connect which will activate those modems and give you two unlimited data plans. If you bundle LRT with Solo Connect, it will be $295/month.
The setup for the LiveU website is pretty self-explanatory, you’ll just need to activate your device, select the closest geographical region option to where you’ll be streaming, and designate a channel to stream to.
*Gen Con 2023 was the first time I had issues with this. Possibly due to the record-breaking attendance numbers, or due to me wandering into more corners than in previous years… I did experience some buffering and framerate issues.
Overlays

If you want, you can directly stream to Twitch from your LiveU, but you’ll have no room to embellish. By default, the LiveU will just output your one camera feed immediately to Twitch. If you’ve watched CGE’s IRL streams, you’ll know that I like to add overlays that can display branding, advertisements, and helpful info.
LiveU has some proprietary way of doing this through their Studio feature, but I have never tried this as I found another option early on— Lightstream. Lightstream is a cloud-based service that will let you add a Starting Soon screen, overlays, music, etc. Lightstream is $50/month.
Connecting LiveU to Lightstream
In order to make this work, you’ll need to utilize an RTMP server.
Start by connecting Lightstream to your Twitch channel. Then create an RTMP source in Lightstream and copy the stream key that it generates. Lastly, in LiveU, create a new custom RTMP destination and set it to output to that stream key.
Important! When you click “Go Live” on your LiveU now, it’ll start outputting to Lightstream. In order to make your stream actually live, you’ll need to also click “Go Live” on Lightstream as well.
But Ray! I don’t understand!
Don’t worry, me neither. But in short:
LiveU (gives you good internet connection) —> Lightstream (gives you cloud-based overlays) —> Twitch
Supporting Gear

Getting a smooth shot: Attach your camera to a gimbal. I used the Ronin SC.
Audio: Invest in a good shotgun mic. I used the Sony ECM-B1M. But I do feel like my audio could have been further improved.
Multiple camera angles: If you won’t be moving around, but will rather be streaming sit-down playthroughs, you’ll need some sort of switchboard. I used the Blackmagic ATEM mini Pro.
Batteries: Everything will die faster than you expect it to :( And waiting for things to charge is annoying for both you and your audience. I recommend having multiple batteries charging and ready to swap out quickly. Finding a battery with an AC output and the proper voltage for the LiveU was tricky, but I discovered this one and it’s great.
How to Not Die

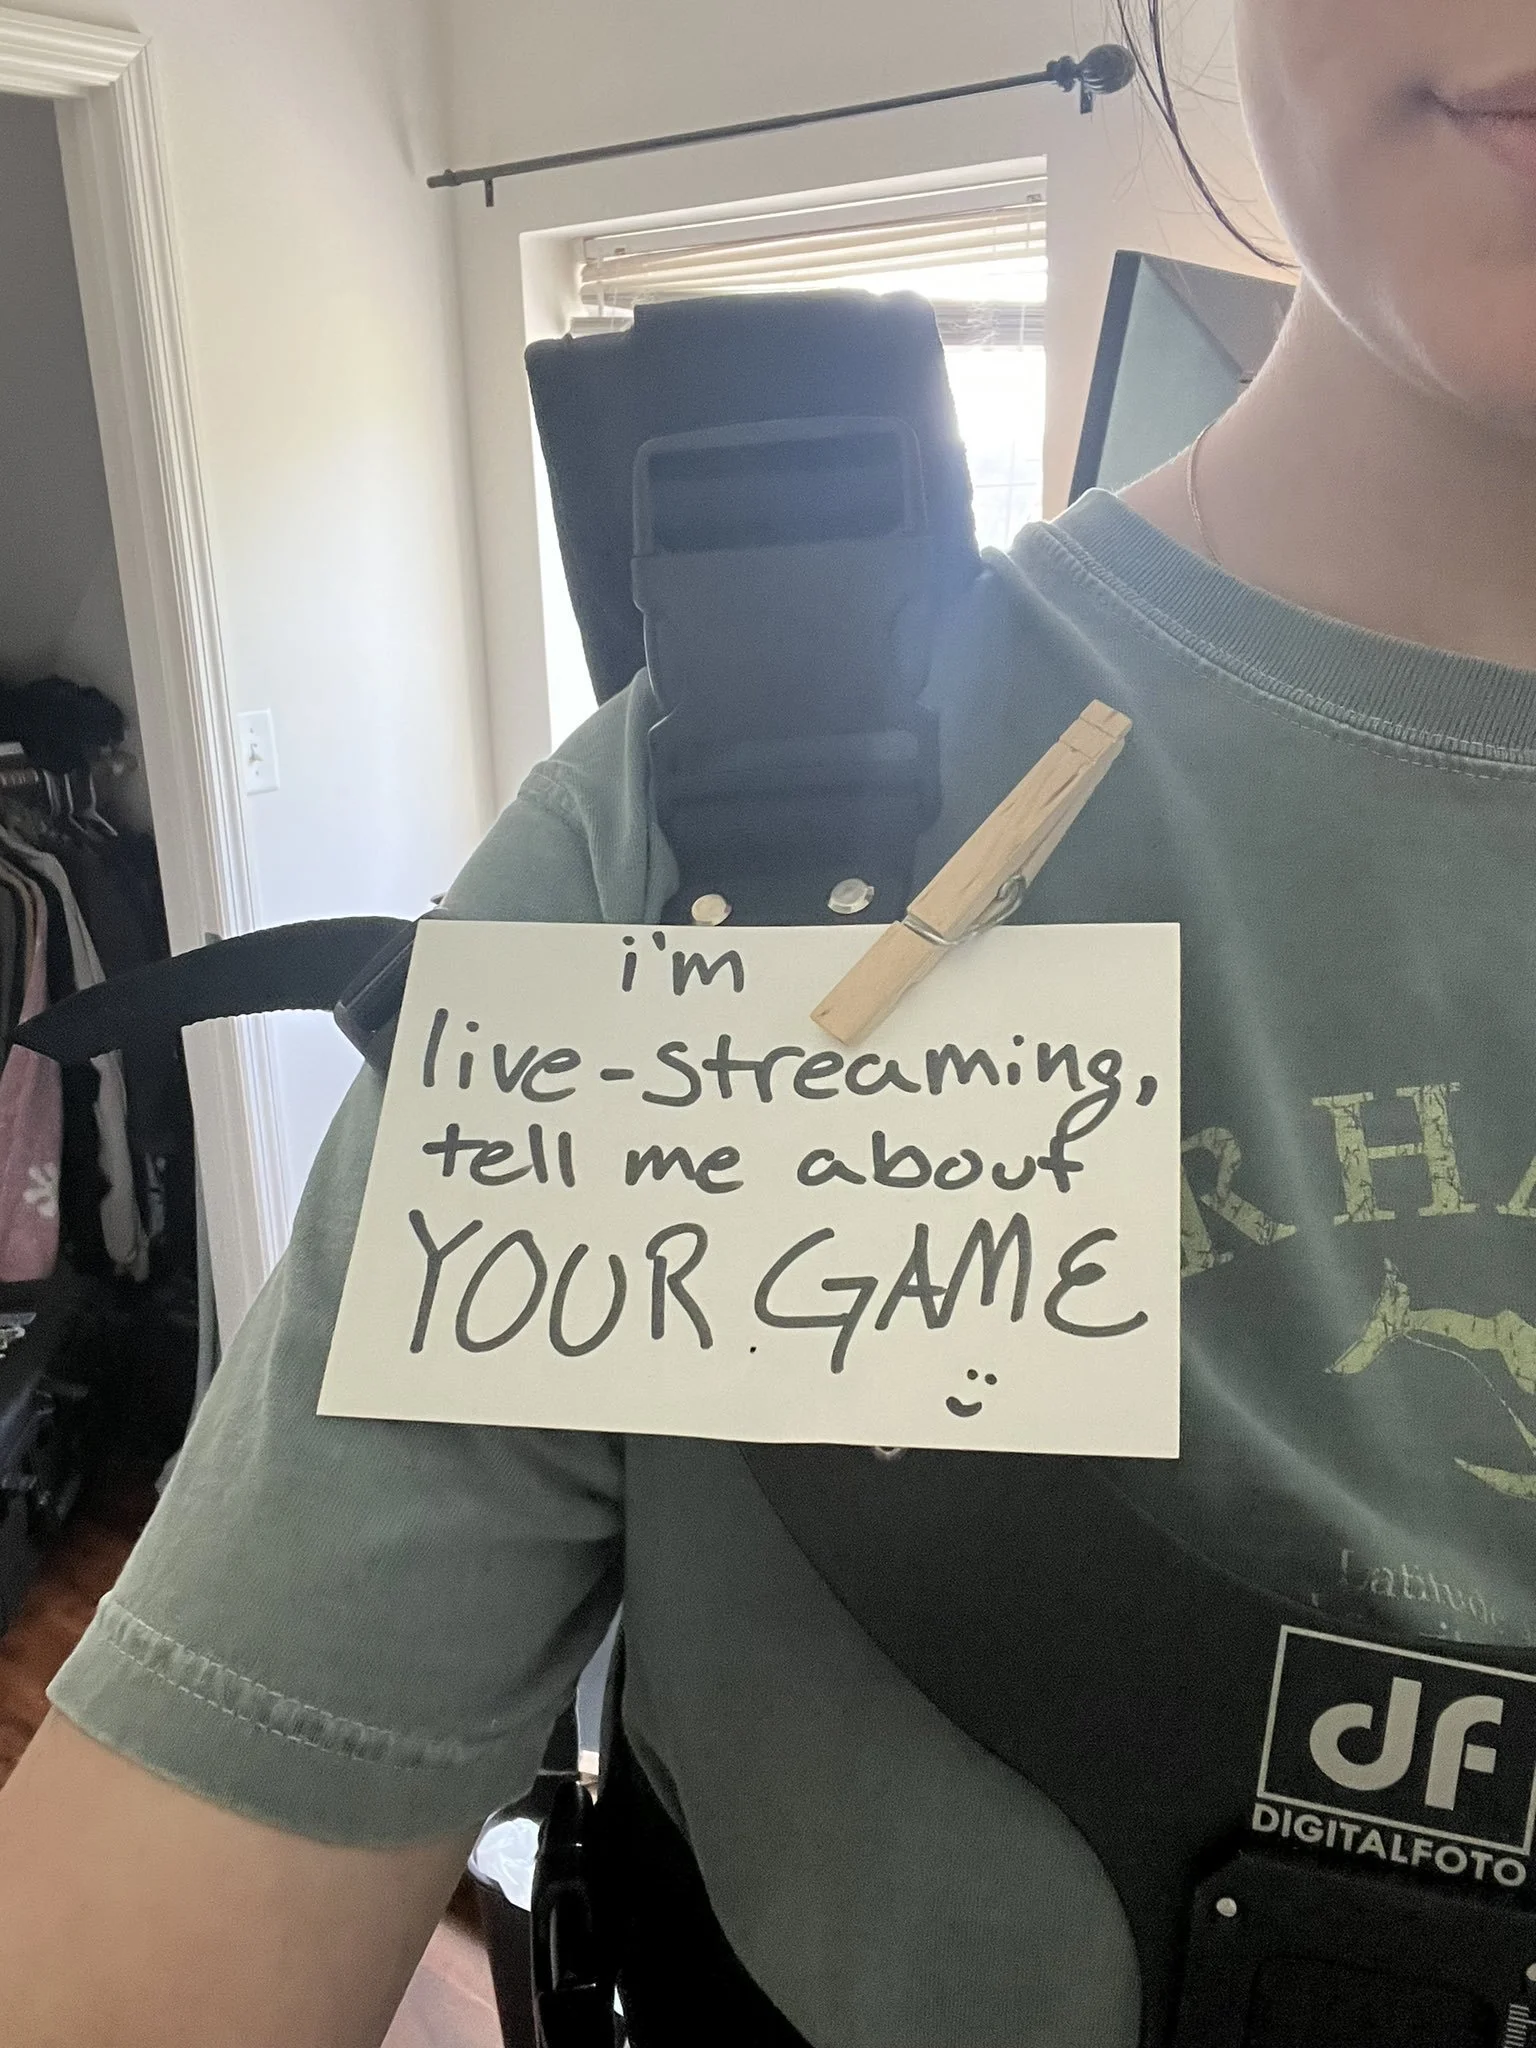
im begging you please ignore how crusty i look in this it’s the only photo i have
I did three conventions just carrying my gimbal around. Granted I have very little upper body strength, but holding a gimbal out from your body nonstop for 8 hours was too much for me.
At Gen Con 2023 I finally found the solution! Turns out that there is a market for gimbal support vests. Now, these are meant for very heavy professional rigs, which mine is not— so I needed to add some artificial weights to it to properly engage the springs.
Basically, it’s a vest that attaches to a mechanical arm which you can then attach to your gimbal which transfers the weight from your arms to your shoulders. When balanced properly, this will allow your gimbal to float out in front of your body, only needing your hands to direct it.
Other Tips
Tell people that you’re live-streaming. Yes, you’d think it’s obvious, but I promise, it’s not. Live-streaming at board game shows is not common, so people almost never assume that you’re live. It’s common courtesy to tell booth workers what’s going on before engaging with them.
Try your best to plan out some sort of route ahead of time so you don’t get too sidetracked.
Have water somewhere on you!
Embrace the quiet! As streamers, we’re often terrified of silence. But trust me, walking around with this stuff on and trying to be constantly talking isn’t possible. It’s okay! Your audience is in large part there for the convention ambiance. So it’s okay to walk around in silence for a bit and give yourself a break.
Thank you!
If this article helped you, please consider buying me a coffee for my time and research. You can support me directly here.